
Material-Uiの「Data Grid」でデータ(行)を追加するサンプルコードです。
ボタンを押したらデータ(行)が追加されます。
検証バージョン
- react: 17.0.2
- @material-ui/core: 5.0.0-beta.0
- @material-ui/data-grid: 4.0.0-alpha.35
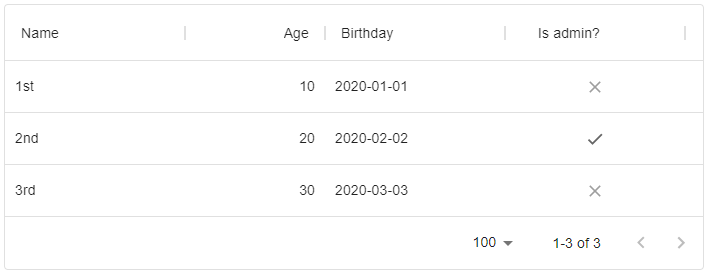
初期のData Gridコード
表を表示するだけのシンプルなコードです、これに追加ボタンを実装します。
import * as React from 'react';
import { DataGrid } from '@material-ui/data-grid';

const columns = [
  { field: 'name', headerName: 'Name', width: 180 },
  { field: 'age', headerName: 'Age', type: 'number', width: 140 },
  { field: 'birthday', headerName: 'Birthday', type: 'date', width: 180 },
  { field: 'isAdmin', headerName: 'Is admin?', type: 'boolean', width: 180 },
];

const rows = [
  { id: 1, name: '1st', age:10 , birthday: '2020-01-01', isAdmin: false },
  { id: 2, name: '2nd', age:20 , birthday: '2020-02-02', isAdmin: true },
  { id: 3, name: '3rd', age:30 , birthday: '2020-03-03', isAdmin: false },
];

const DataGridTest = () => {
  return (
    <div style={{ width: '700px' }}>
      <DataGrid
        columns={columns}
        rows={rows}
        autoHeight
      />
    </div>
  );
}
export default DataGridTest;
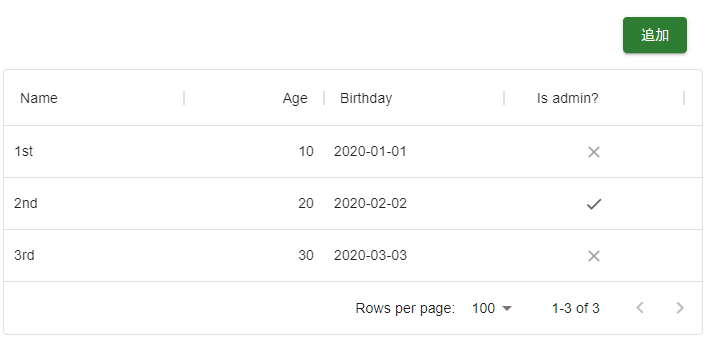
追加ボタンと機能の実装
import * as React from 'react';
import { DataGrid } from '@material-ui/data-grid';
import { Box } from '@material-ui/core';
import { Button } from '@material-ui/core';

const columns = [
  { field: 'name', headerName: 'Name', width: 180 },
  { field: 'age', headerName: 'Age', type: 'number', width: 140 },
  { field: 'birthday', headerName: 'Birthday', type: 'date', width: 180 },
  { field: 'isAdmin', headerName: 'Is admin?', type: 'boolean', width: 180 },
];

const data = [
  { id: 1, name: '1st', age:10 , birthday: '2020-01-01', isAdmin: false },
  { id: 2, name: '2nd', age:20 , birthday: '2020-02-02', isAdmin: true },
  { id: 3, name: '3rd', age:30 , birthday: '2020-03-03', isAdmin: false },
];

const DataGridTest = () => {
  const [rows, setRows] = React.useState(data);

  // 行の追加
  const addValue = () => {
    const id = (rows.length == 0)? 1 : Math.max(...rows.map(v => v.id)) + 1; /* 配列内のオブジェクトidの最大値を求めて+1 */
    const newValue = { id: id, name: '4th', age: 40, birthday: '2020-04-04', isAdmin: true };
    setRows([...rows,newValue]);
  }

  return (
    <div style={{ width: '700px' }}>
      <Box component='div' sx={{ p: 2, textAlign: 'right' }}>
        <Button variant="contained" color='success' onClick={addValue}>追加</Button>
      </Box>
      <DataGrid
        columns={columns}
        rows={rows}
        autoHeight
      />
    </div>
  );
}
export default DataGridTest;
まずは表示するデータをuseState()に変更します。
追加ボタンを押したらsetRowsで新しいデータをstateのrowsに追加します。
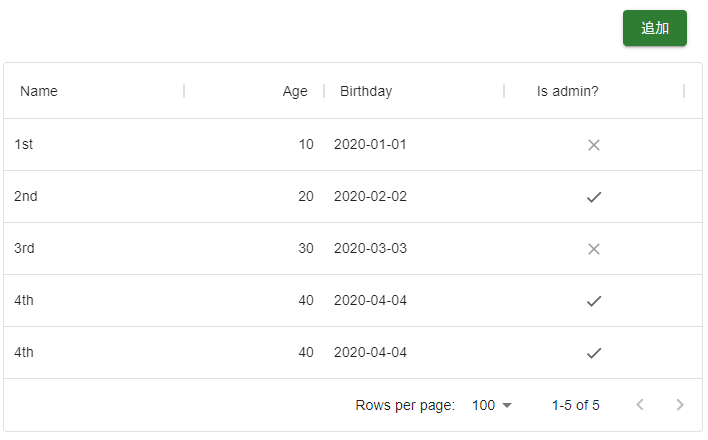
これでデータ(行)が追加されます。
まとめ
今回は新しく追加するデータを固定にしているので、追加ボタンを押しても同じデータが追加されます。
フォームを作成して追加するデータは入力式にすれば任意のデータが追加できます。
DBでデータを管理する場合は追加ボタンを押した際にサーバへデータを送って登録して、
新たな表のデータをサーバから返して、setRowsでstateにセットすればいいはず。